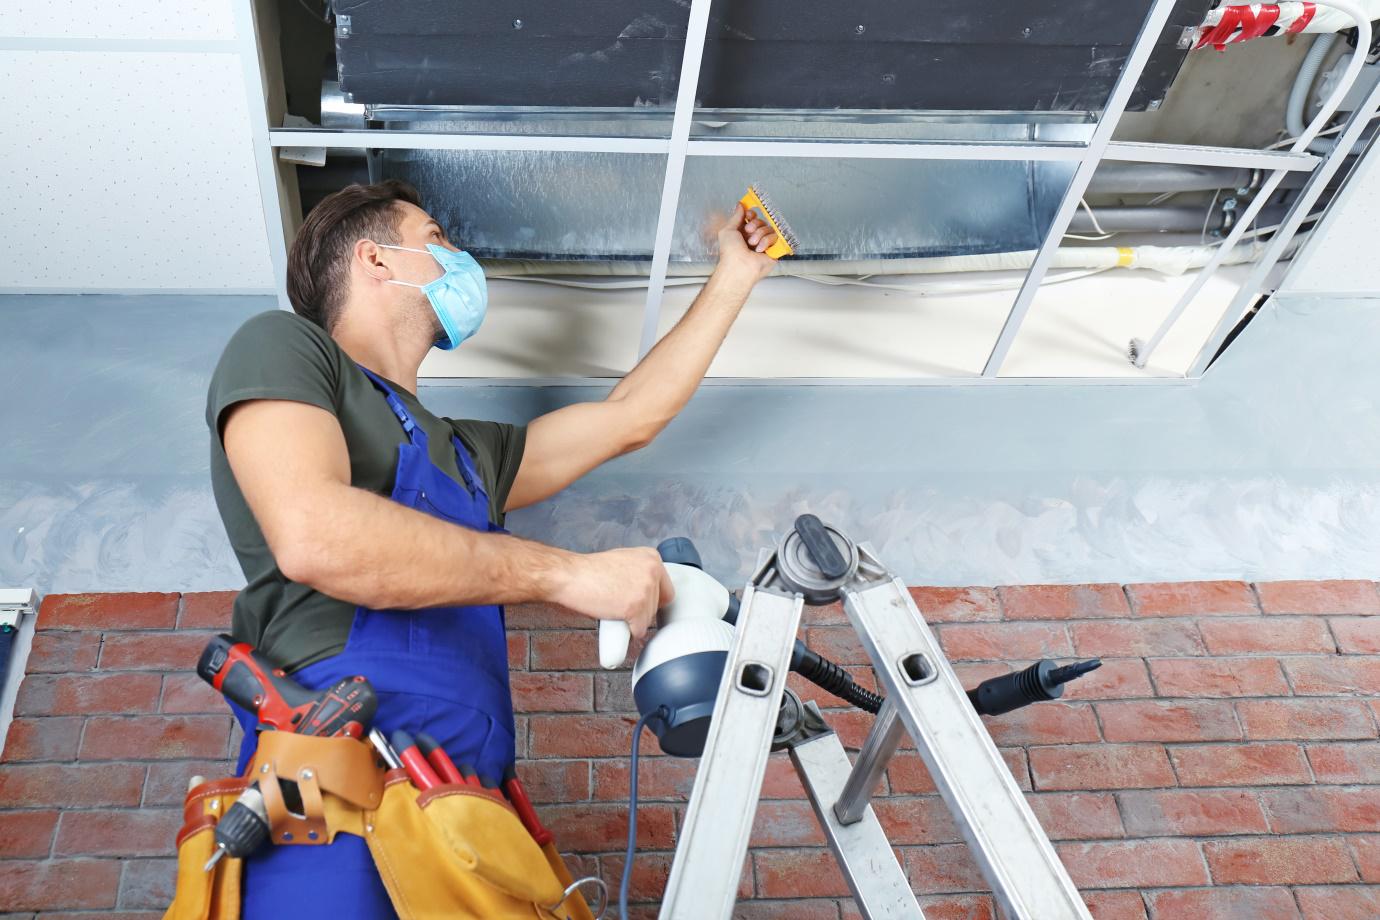
Duct Cleaning & Maintenance – How to Identify & Fix Leaking Ducts
- Written by News Company

The first sign that you might have a leaking duct is that your heating or cooling costs get more expensive. This is because air is escaping and ruining the efficiency of your heating or cooling system. If this is the case, you need air duct repair. You can always contact your local duct cleaning experts or duct repair specialists. But what if you don’t want to pay someone for duct cleaning and repair? Can you do it yourself? For a handy guide to identifying and fixing leaking ducts, read on to find out what you need to do.
Step 1 – Identify the Duct Leaks
Any professional duct cleaning company who offers repairs will begin by diagnosing the problem. And that is where you need to begin, too. To check your ducts for holes, change your thermostat from Auto to On. This will help you find where the holes are. Once you’ve found all the leaks, turn the thermostat to Off. If you're having a hard time undertanding where the problem comes from, don't hesitate to contact duct cleaning specialists to help you out.
Step 2 – Fix the Flex Duct
Check the condition of the flex duct. If it has come loose or has fallen off, remove the old Panduit strip. Pull on the outer layer and pull the insulation back approximately 8 to 11 inches, then fit the inner layer into the boot connection. Secure with duct tape and then get the inner layer staying in the right spot with a new Panduit strip. Add on the outer layer and use another Panduit strip to make it stay.
Step 3 – Found a Rip? Repair It
So how do professional duct cleaning and maintenance pros deal with rips? Firstly, thoroughly clean the ripped flex so that no dirt or grime gets in the way of creating a firm seal. Use duct tape to stick the two ripped sides together. Next, place some mesh on the rib and paint mastic sealant over the mesh. Don’t be stingy with the application and let it dry for at least ten minutes. You can also try stapling the rip together if the tape method doesn’t work. It's best to hire specialists like the ones from heating repair Henderson to get the job done right and prevent further issues from occurring.
Step 4 – Sealing Heat Ducts
One other thing that duct cleaning and maintenance professionals do is sealing of heat ducts. In this instance, you will need to use a caulking gun. Seal up any leaking areas with the caulking gun and cover all the seams and joins that need sealing off. Always check the drying time of the caulk before turning the heating unit back on.
Step 5 – Test Out Your Repaired Duct
Ensure that your sealant is fully dry before putting your ducts to the test, then turn the thermostat back on to allow air to flow through the ducts. If no air is coming out where the rip mend or leak was, then you’ve successfully solved your duct leak problem.
Step 6 – What If It Doesn’t Work?
If you’ve followed all the above advice but it hasn’t worked, it might be that your sealant hasn’t taken hold because your ducts are too dirty, or it might be that you need new ducting installed. You may need to bring in a qualified team of duct cleaning and installation specialists to help fix the problem.


