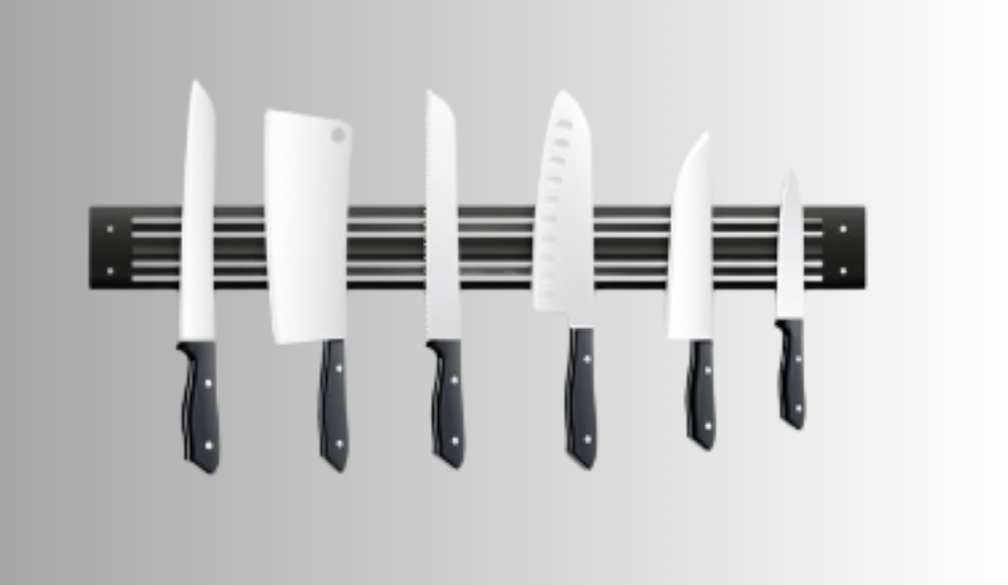
How to Install Knife Magnets in Drywall and Tiles: Tips and Tricks

If you’re looking to enhance your kitchen’s functionality while adding a touch of style, installing a knife magnet is an excellent choice. Not only do knife magnets keep your blades organized and within reach, but they also free up counter space and add a modern aesthetic to your kitchen. In this guide, we’ll walk you through the steps to install knife magnets in drywall and tiles, ensuring you have all the tips and tricks you need for a successful installation.
Why Choose Knife Magnets?
Knife magnets are becoming increasingly popular among home cooks and professional chefs alike. Here are a few reasons why they’re a great addition to any kitchen:
- Space-Saving: By storing knives vertically, you can free up valuable counter space that can be used for food preparation or other kitchen tasks.
- Easy Access: Having your knives displayed makes it easy to grab the one you need without rummaging through drawers or searching for the right blade.
- Safety: Storing knives on a magnet keeps them out of reach of children, reducing the risk of accidents. It also prevents the dulling of blades that often occurs when knives are stored in drawers.
- Stylish Design: A well-placed knife magnet can serve as a stylish focal point in your kitchen, showcasing your high-quality knives while enhancing the overall decor.
When searching for the best knife magnet for kitchen use, consider options from reputable suppliers like AMF Magnetics, which is known for its quality products designed specifically for kitchen environments.
Tools and Materials Needed
Before you start the installation process, gather the following tools and materials:
Tools:
- Drill: For making holes in drywall or tiles.
- Screwdriver: To secure screws into place.
- Level: To ensure your magnet strip is straight.
- Measuring Tape: This is used for accurate placement of the magnet strip.
- Stud Finder: Useful for locating studs in drywall installations.
Materials:
- Knife Magnet Strip: Choose one that suits your style and kitchen decor.
- Screws: Typically included with the magnet strip; ensure they are suitable for your wall type.
- Wall Anchors: Necessary if you’re installing on drywall without hitting a stud.
- Adhesive (optional): For tile installations where drilling may not be ideal.
Step-by-Step Installation Guide
Installing on Drywall
- Choose the Location: Decide where you want to install the knife magnet. Ensure it’s at a height that’s convenient for you but out of reach of children. A common height is around eye level, making it easy to grab knives when needed.
- Find Studs: Use a stud finder to locate the studs in your wall. If possible, install the magnet strip into a stud for maximum stability. If there are no studs where you want to place it, you'll need wall anchors.
- Measure and Mark: Use your measuring tape to determine how high you want the magnet strip. Mark the spots where you’ll drill holes using a pencil. It’s often helpful to mark both ends of the magnet strip to ensure even placement.
- Drill Holes: Drill pilot holes at your marked spots. If using wall anchors, drill holes slightly larger than the anchors so they fit snugly.
- Attach the Magnet Strip: Align the magnet strip with your drilled holes and secure it using screws. Use a level to ensure it’s straight before fully tightening each screw.
- Test Stability: Give the magnet strip a gentle tug to ensure it’s securely attached before placing any knives on it. This step is crucial as it ensures that the strip can hold the weight of multiple knives without coming loose.
Installing on Tiles
- Select Your Spot: Choose a location on your tile wall that is both accessible and visually appealing. Consider areas near your prep station or cooking area for convenience.
- Clean the Surface: Clean the area where you’ll be installing the magnet to ensure good adhesion if you're using adhesive. Remove any grease or dirt with a mild cleaner.
- Measure and Mark: Just like with drywall, measure where you want to place the knife magnet and mark accordingly with a pencil.
- Drill Holes (Optional): If you're using screws instead of adhesive, carefully drill into the grout lines between tiles rather than directly into tiles to avoid cracking them. Use a masonry bit if drilling into harder tiles.
- Use Adhesive (If Applicable): If you're opting for adhesive installation, apply it evenly on the back of the knife magnet strip and press it firmly against the tile surface. Hold it in place for about 30 seconds to ensure it adheres well.
- Allow to Set: If using adhesive, allow it to cure as per manufacturer instructions before placing any knives on it—typically, 24 hours is recommended for maximum strength.
Maintenance Tips
Once your knife magnet is installed, maintaining it is straightforward:
- Regular Cleaning: Wipe down the magnet strip regularly with a damp cloth to remove dust and grime that can accumulate over time.
- Check Stability: Periodically check that screws are tight, or that adhesive is holding well; this will prevent any potential accidents.
- Knife Care: Ensure that knives are clean before placing them on the magnet to prevent rusting or staining from food residues.
Installing a knife magnet in your kitchen is an effective way to enhance both functionality and style. With just a few tools and some simple steps, you can create an organized space that makes cooking more enjoyable while keeping your knives easily accessible. For those seeking high-quality options, look no further than AMF Magnetics, where you can find the best knife magnet for kitchen use tailored to meet your needs. Embrace this modern storage solution today and enjoy all the benefits that come with having your knives readily accessible! Happy cooking!


