How to Choose the Right Laser Cutting Solutions for Your Needs
- Written by Daily Bulletin

Laser cutting is one of the most significant advancements in the manufacturing and design fields, as it provides accuracy, fast results, and can work on a wide range of materials. But, when it comes to choosing the right service provider to offer the best laser cutting service, it is wise to do some research. Read through this article for information on how to choose the right laser-cutting solution for your project. Whether you are an amateur or an entrepreneur, knowing the Melbourne's top laser cutting solutions will significantly impact the quality of your projects.
-
Identify material types
The first crucial decision process, hence, when deciding on the best laser cutting solution, is to consider the materials that are to be cut. Various lasers are manufactured to operate optimally in a given material that they are created to work with. Most often used are metals: stainless steel, aluminium, and brass; woods and medium-density fibre boards; plastics, including acrylics; fabrics with leather; and glass and ceramics. Think about the thickness of the material and the whole properties as a source that can influence the functioning of a laser cutter.
-
Determine Cutting Precision
Determine the level of detail and precision that is necessary for your projects. In some cases, the shape of the structure may involve implementing complex geometrics with narrow dimensions or gaps, while in other cases it may involve more freedom on the designer's part. Accurate cuts may need better laser cutting tools, and this may affect your selection of a company to offer the service.
-
Evaluate Production Volume
Take into consideration the volume of products that are required to be made. We’d like to know whether you will be needing our services for one particular project or whether you need our services time and time again. This will assist you in deciding between a service that deals with small numbers of production and a service that deals with large volumes of production.
-
Different Laser Cutting Technologies
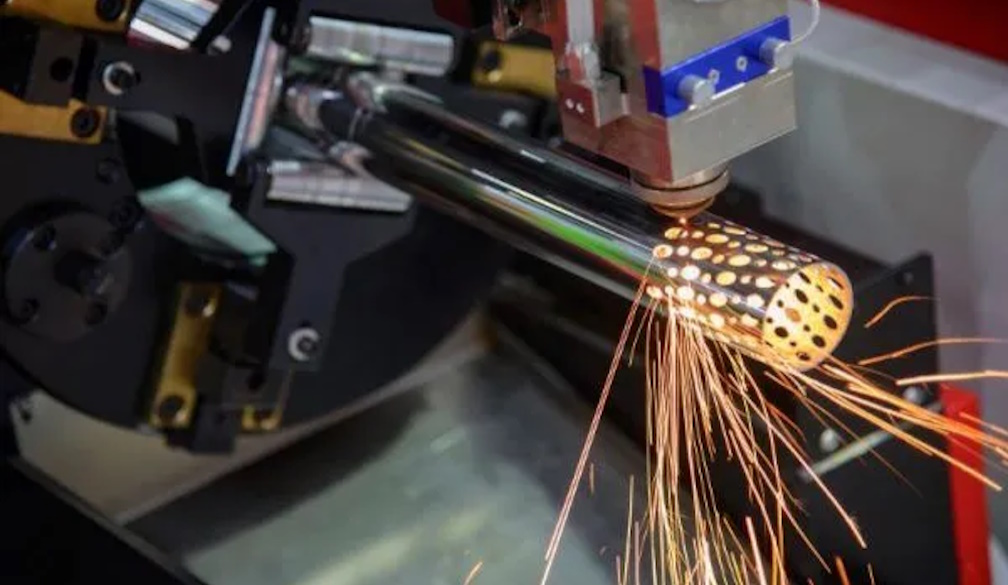
There are several types of lasers and one of the most common and versatile is the CO2 laser for cutting materials such as wood, acrylics, and fabrics. These devices are moderate in terms of cost while also being very reliable for the majority of the tasks. Fibre lasers are particularly suited for metal cutting as they are fast and very efficient and can deliver as much as five times and above the power of traditional lasers of the same class. They are perfect for cases where stainless steel, aluminium, and other shiny materials should be used. Crystal lasers, are good on metals and non-metals and most types of materials. It is normally utilized where precision is required and it is usually providing high accuracy.
Conclusion
Selecting the right laser-cutting solution requires careful consideration of your project needs, available technologies, and service provider capabilities. By thoroughly evaluating these factors, you can find a laser-cutting service that aligns perfectly with your requirements. Melbourne's top laser cutting solutions offer a range of options to suit various projects, from small custom designs to large-scale production runs.


